The new ‘big battle’ rules A Grand Endeavour are designed to simulate to problems, decisions, and tactics, of black powder warfare while remaining manageable. The are not long or convoluted and pack a lot in. The game is a complete management system, with special ‘battle builder’ deployment cards to create the scenario, rules for weather, time of day, season, and multiple days of battle. They can be set-up quickly to generate a game that delivers a realistic context.
AGE uses one set of counters (Battle Fatigue) to manage the effects of combat on units and leaders, while one central resource – Endeavour – manages army morale and the game clock.
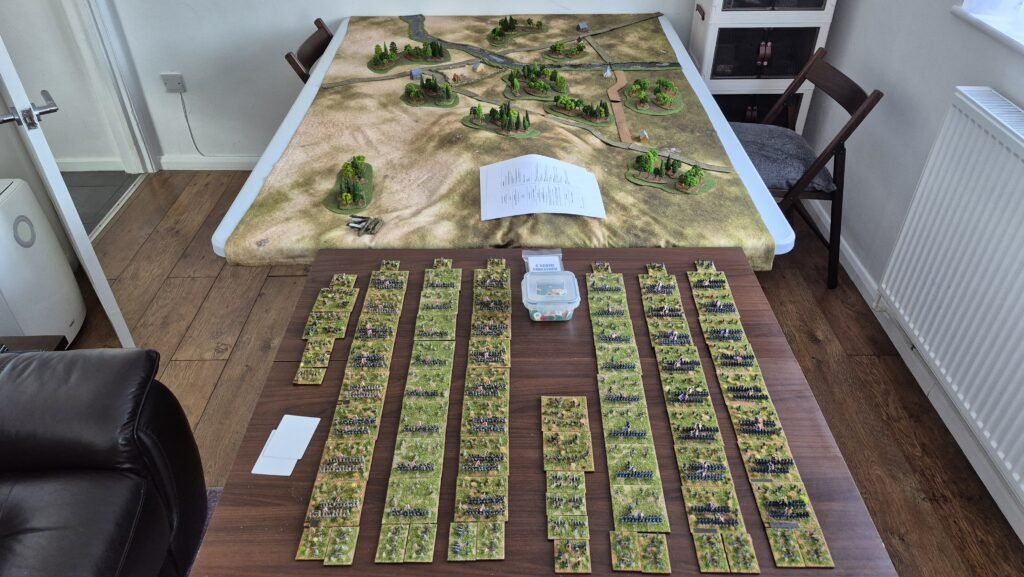
This game pitched two almost identical ACW armies against each other, utilising the AGE ‘Battle Builder’ cards to create the strategic situation. Each army had three corps, each of eight brigades and two artillery stands, with a couple of cavalry brigades and two more batteries attached to the army HQ.
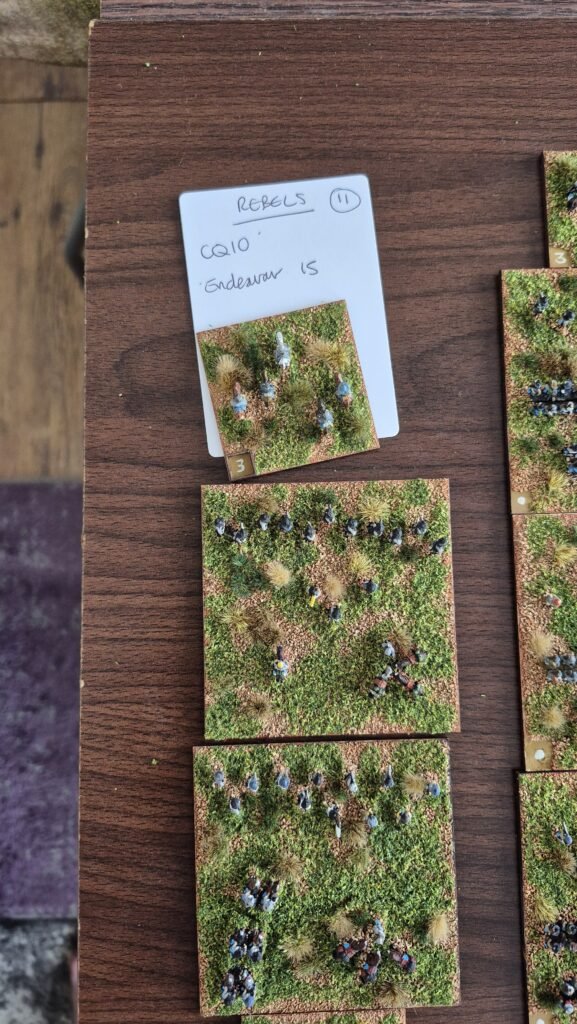
The Confederates were calculated as having a CQ (Command Quality) of 10, while their Endeavour was 15. Endeavour is the critical part of the game, governing both what you can do and how quickly your army loses the will to continue doing anything at all. The rebel ‘one third loss’ number was 11. This is not when the army breaks, but instead, when unit losses exceed that number the rate at which Endeavour drains away increases.
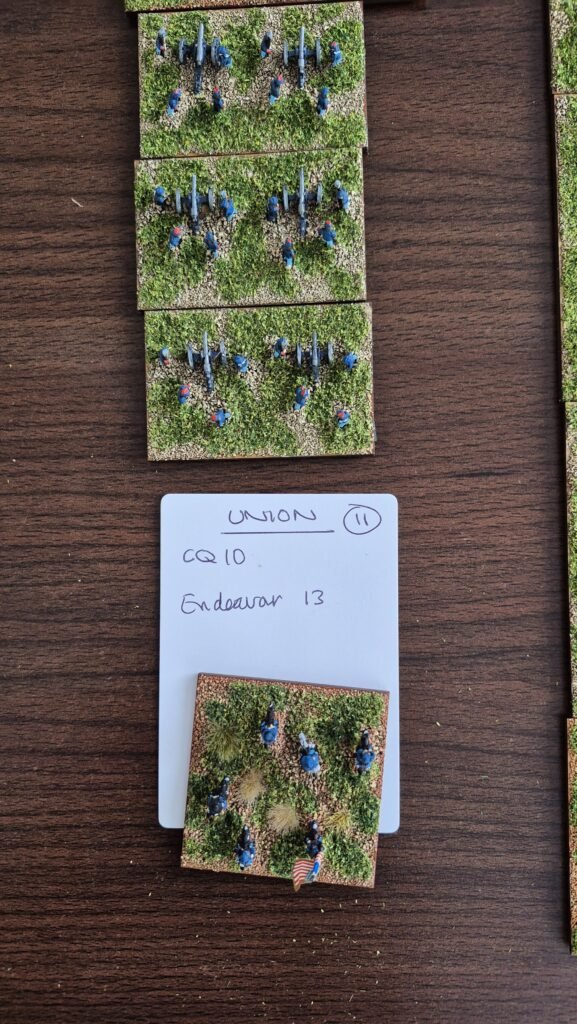
The Union army was very similar. There are slightly different calculation values depending on the quality of troops, with veteran and elite units gaining more Endeavour. As my rebel army has slightly more units marked up as veterans they generated more Endeavour, 15 against the Union army’s 13. Both armies were allocated exactly the same mix of leaders – a blend of CR (Command Rating) 3 (Poor) and 4 (Average), that generated identical CQ totals.
We rolled for weather and it was favourable. The season was Autumn. The time of day battle would be joined was 2 pm. With a turn representing 90 minutes, we faced the prospect of just three standard terms before a fourth crossed the nightfall marker of 7 pm, triggering it as a limited twilight turn.
The battle builder cards are easy to use. A hand of them is dealt to each side. Creating your strategy, a card is then allocated to each ‘Command’ (typically a corps) in your army. There is also an option to create an additional Command called a field force, should you want more tactical options. Each used card is placed face down with the card on the left the first to be played, with both sides doing so in an alternating sequence. When a card is turned, the leader and units are positioned on table within the parameters of the cards options. For example, ‘prepared position’ cards allow you to deploy in your own half of the table only, but everyone can be in LV1 Fieldworks, which give a frontal defensive bonus. As I drew two of these, I intended to position two of my three corps in defensive positions to resist attack while I looked to launch the third across the river at the ford and push around the Union right flank. Some cards keep Commands off-table, allowing for bolder – and more risky – strategies to be constructed.
Unfortunately, I lost the initiative and my pal got to play the first card. “Hold key position” was the card he played, which allowed an entire corps to deploy in my half of the table! He placed it over the ford, completely ruining my plan of battle in a stroke. I played my first card and was forced to respond to his bold move by positioning a corps facing the ford, hemming him in through my units being behind hastily thrown up defences.
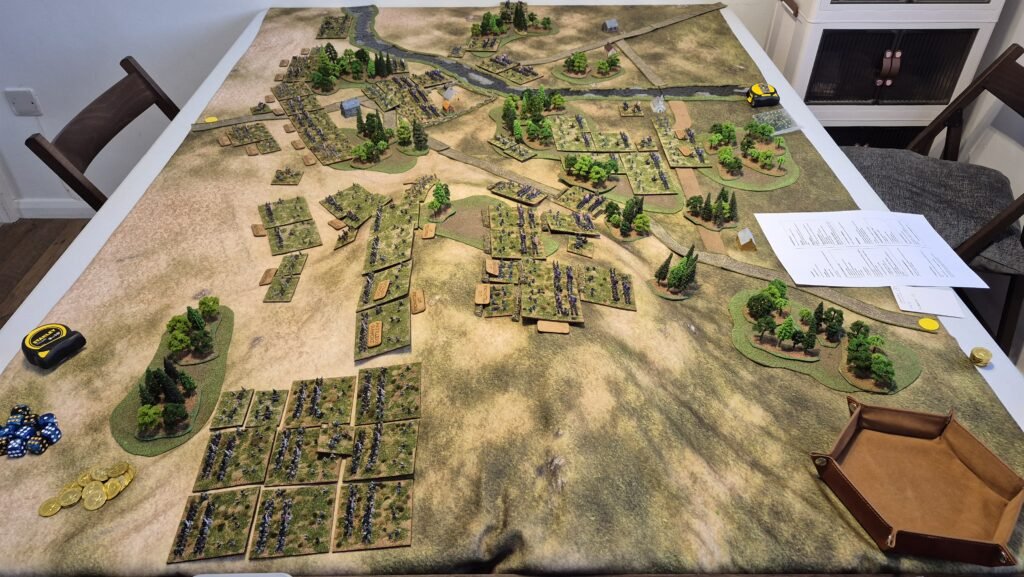
His second card was also prepared position, so he placed a corps on his left flank on high ground, which would deliver him both the fieldwork bonus of the set-up card, and the favourable ground bonus for being uphill. Realising things were not going well, I placed my second corps, again in prepared positions (desperately throwing torn down fences, trees, and rocks in front of them) facing his units entrenched on the high ground, and linking up with my left hand corps.
I was rather taken aback when he placed his third corps in the centre of the battlefield. Evidently hoping to use it to break through where my line was thin and not quite as linked up as it should have been.
This deployment was nevertheless rather a surprise as it left his entire left flank open. I played my last card – a standard ‘deploy’ card that allows deployment in your own half of the table, to deploy in a huge corps mass on his flank. It seemed my pal had dropped the ball, but he rationalised that by refusing the flank using two units, entrenched on high ground, would slow me enough to, rather obviously, allow him to break my centre.
having deployed the armies, any gained ‘Surprise’ cards are next played. These can deliver limited surprise attacks, increasing of defensive posture, or a rapid bombardment. My friend had gained two rapid bombardment cards, allowing his artillery to enjoy two rounds of fire before turn one. thankfully this was not punishing but did raise the BF (Battle Fatigue) of a few units and caused some disorder.
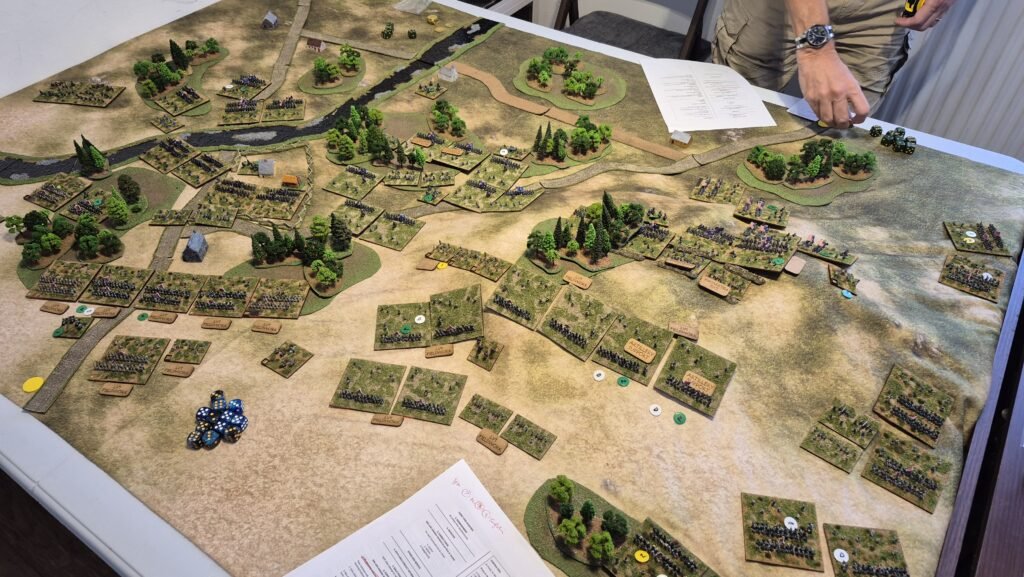
Having won the initiative for deployment order and turn one, my mate nonchalantly handed over the initiative for me to go first. Mystified, I launched my entire right hand corps forward, and achieving full control of them, I double moved, allowing two brigades to engage his entrenched units. I then used a ‘follow me’ move to further move a third brigade around the flank to closely engage.
Engagements are where combat happens in AGE, and its not your usual separate firing then fighting sequence. Both are combined, and units are either engaged or closely engaged with each other, which defines dice rolled, some tactical factors, and the difference in outcomes for losing units. It’s fast, and decisive. As a turn represents up to 90 minutes, units don’t hang around: if a unit loses it falls back or retreats, there are never ongoing fights.
Disastrously I lost all three engagements! the engaged units fell back, while the closely engaged unit retreated. As it did so it retreated through two of my other units stacked up behind. Both failed rally tests and joined the retreat. In one turn five of my eight brigades on his open flank had been thrown back, with three retreating.
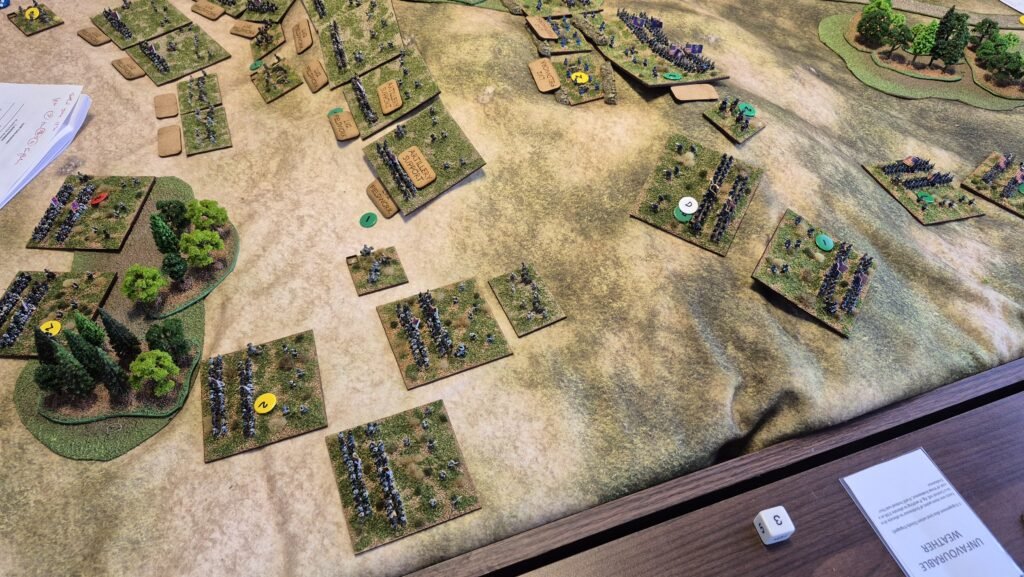
The battle on my right was already lost in terms of a breakthrough before nightfall, and we both knew it. The left flank Union corps was undamaged and entrenching further (to LV2 Fieldwork status) on high ground. All I could do was to match him by forming a line and also digging in by nightfall, causing one third of the battlefield to stagnate into an artillery duel.
Endeavour is the heart of the game. During a turn you may spend Endeavour equal to the current army total getting your troops moving. Each leader can attempt to control their corps by rolling a number of dice up to their CR (Command Rating). Therefore, a good leader – CR5 – can be allocated up to five dice to roll (needing two successes to fully control his units). But here’s the thing. Each dice allocated to a leaders roll costs one Endeavour. Once available Endeavour is spent no further Commands can be activated. It was not a problem in the beginning, however, as my starting total of 15 was enough to get men moving. But as Endeavour lowers, you need to prioritise how you allocate it, and use your high command to intervene more – raising your general’s BF doing so.
At the end of each turn during the Command Phase, each side may be able to attempt to lower their opponents Endeavour, depending on lost units, leaders, and some other factors. If lowered, the new total is that available to spend in the following turn. Therefore, as your Endeavour diminishes, it becomes harder to get men moving and the game clock is ticking down to zero.
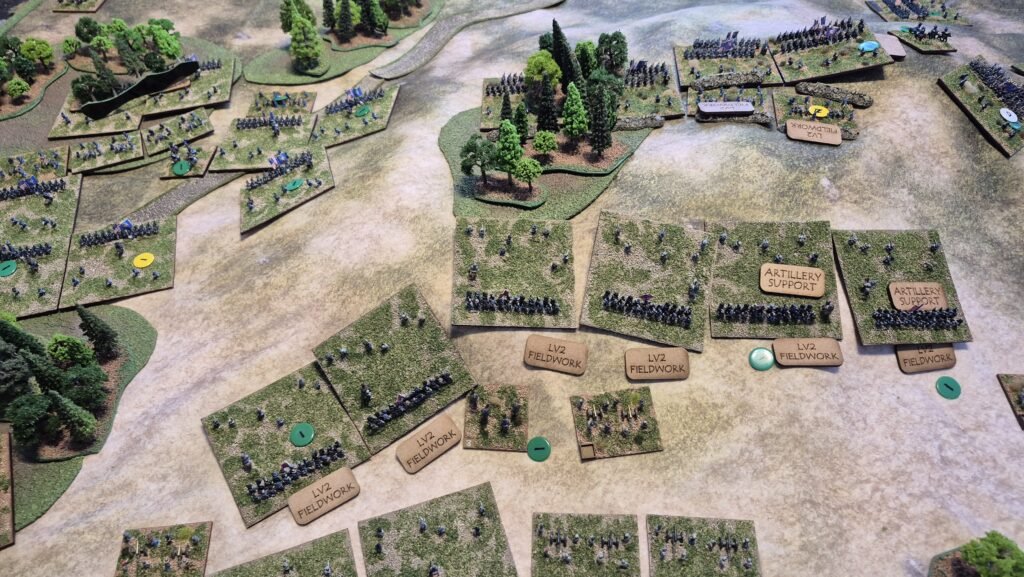
Meanwhile, in the centre, my pal’s second corps unleashed its attack by first using five artillery stands to bombard my dug-in troops. Thankfully the fieldworks mostly protected my units. In conjunction with his centre, his right now also moved forward, ending my tactical options beyond surviving.
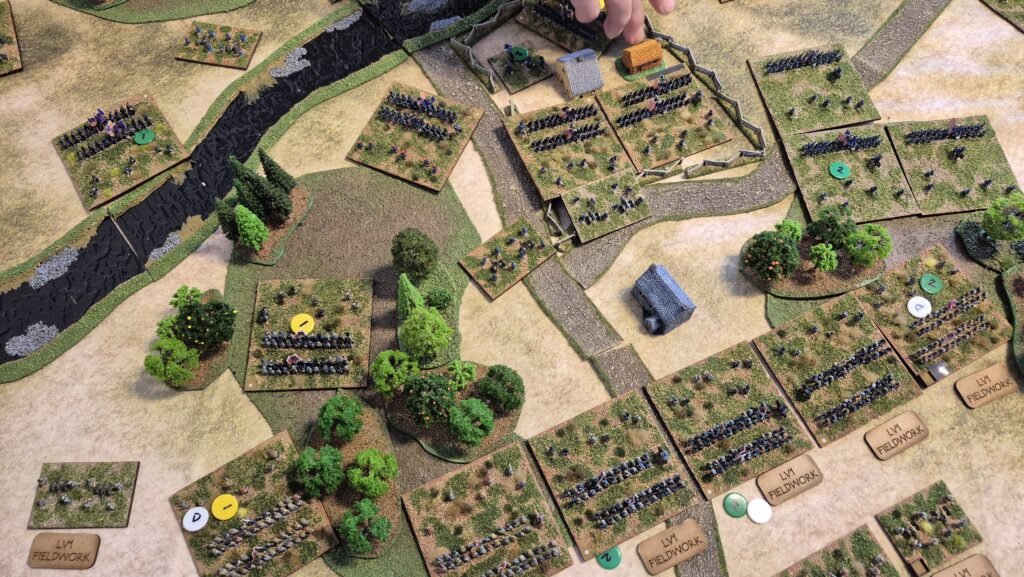
On my left, being entrenched helped, but with some poor dice rolling and not being able to fire much of my artillery, having formed lines of entrenched troops in front of them (DOH!), my options were almost zero. Through a combination of engaging to whittle me down, then closely engaging when my units were worn down, my left was in trouble with nightfall approaching.
Unit freshness matters a lot. Fresh units hit on 3’s. Worn on 4’s, and Exhausted units on 5’s. Units accrue battle Fatigue that lowers them through these brackets of freshness. Fresh units are very powerful if you can keep some in reserve to throw in against exhausted troops, and support them in doing so – it feels very realistic.
BF is also used for command groups. When a leader rolls to control their corps, pass or fail, the leader’s BF is raised by one. So, as with units, the more they do, the more they get worn down. By the end of the three full day turns, my leaders and units were already becoming Worn and Exhausted, and my Endeavour had been whittled down to 6, while my opponents was still 12.
We use coloured tiddlywinks to mark BF, utilising a traffic light system to show their bracket (Fresh, Worn, Exhausted). You could also use a small dice, or plain counters. BF is rated between zero and 6, with a unit breaking on receiving it’s seventh, so there are several ways to track BF, which are explained in detail in the rulebook.
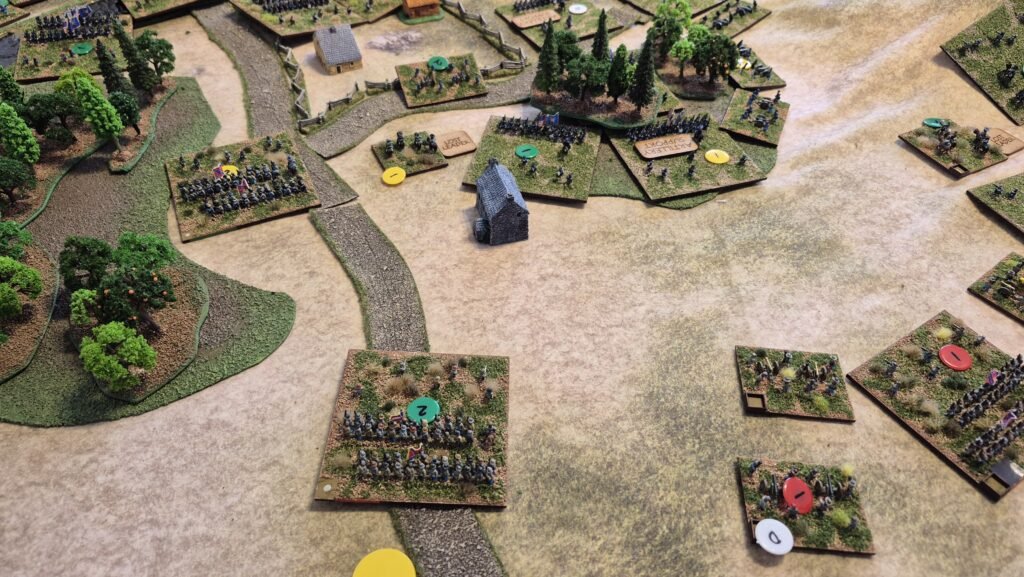
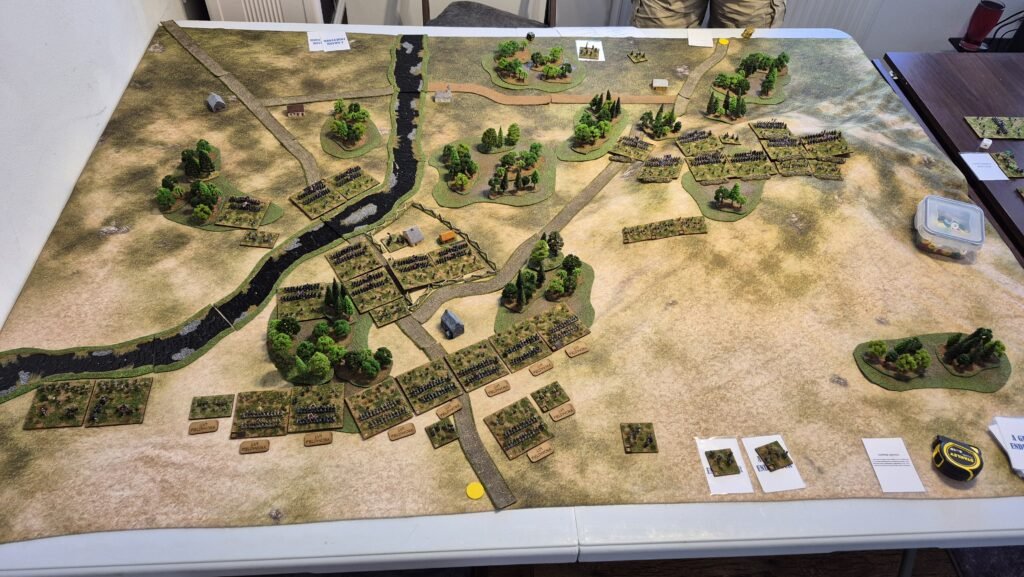
The last turn of the day was the twilight turn. This is a more limited turn that localises your focus while increasing the risks of combat. Three punishing close engagements saw Union brigades break through my left hand corps, pushing units back from their fieldworks . As can be seen from the final photo above, the entire corps was pushed out. Several units had retreated, with several now exhausted. My Endeavour was reduced to two during the Command Phase that ended the day.
With one of my corps now effectively broken, being classed as ‘stricken’ – which adds even more dice to those rolled against you to lower Endeavour, I conceded my army was beyond retrieval. Rather than go through the new day of battle process and hope to recover some Endeavour and BF to battle on, I conceded that, in reality, I would have ordered a retreat at this point.
Despite the promise of the initial corps-sized flank attack, its poor execution and my usual poor dice rolling conspired to create a precipitous retreat that dragged other units back with it and caused chaos I just could not recover from. With my advantage lost, all I could do was attempt to dig in more and hope for nightfall. Even as the game designer I was not immune to the common wargamer traits of throwing units in piecemeal and masking my own guns!
Despite the balanced forces, the battle was decisive through deployment, decision-making, and combat. This seems right. A game representing a medium-sized historical battle was fought to an obvious conclusion in three hours from the dealing of cards – a key objective of my overall design philosophy to bring big battles between 1700-1870 (ish) into the realms of reality during reasonable gaming sessions.